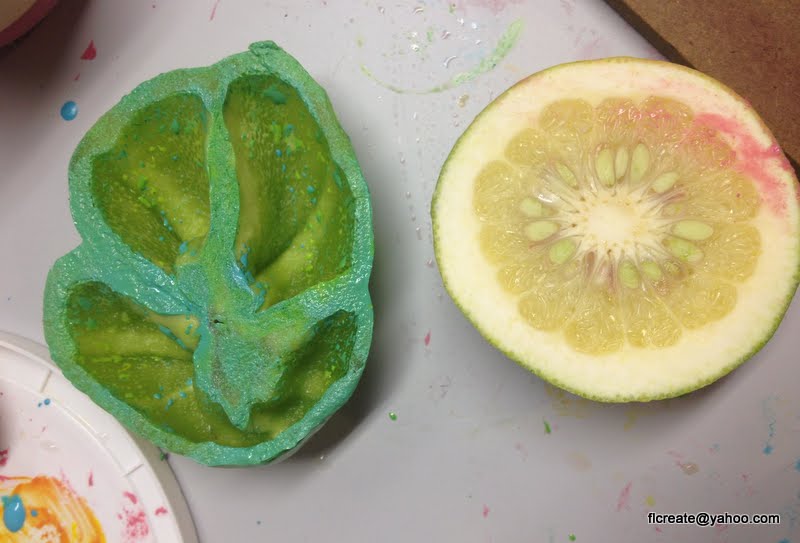
I began by using one of the small green grapefruits that have been falling from our tree too early...(not sure why-an animal or the tree is too loaded?

I used fabric paint because I was working with cloth.
I repeatedly printed with the same piece of citrus altering the fabric paint color a little each time.

Tempera or acrylic paint can be used for paper, but i went ahead and used the fabric paint I had out.
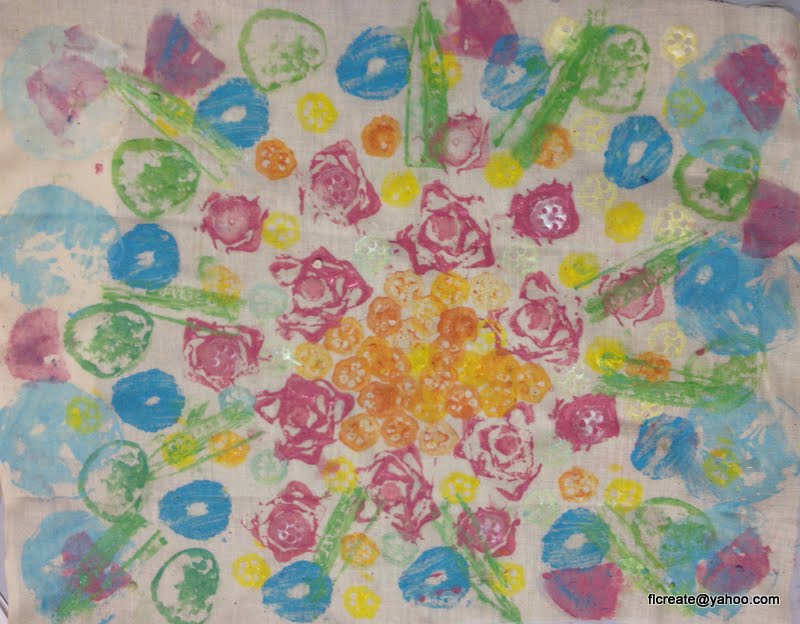
Fruit and Vegetable Medley 2014
fabric paint on cotton muslin
The above piece was the practice run where I tried out the various fruits and veges...
There is eggplant (green circles), cucumber (light blue outer circles), okra (orange/yellow small circles and green sword-like leaves), bok choy core (dusty rose floral shape), strawberry ('darker' blue circle with hole in center and dusty rose triangular shape)

You could dip the vege into the paint-but it may print too thickly or with blobs... a brush worked great!

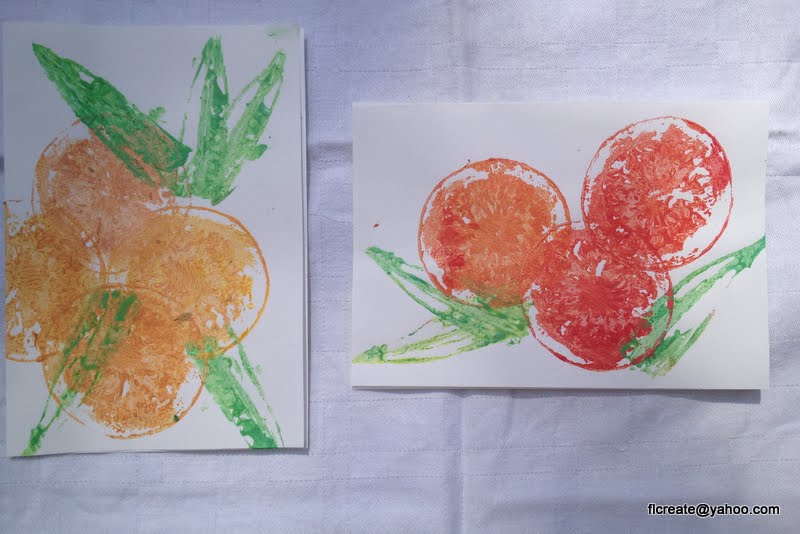


Fruit and Vegetable Print by Ella -2014
Celery, strawberry, citrus, apple and okra on cotton muslin
Ella is one of my adult students-She created a wonderful arrangement and I love the harmonius colors she chose to use.
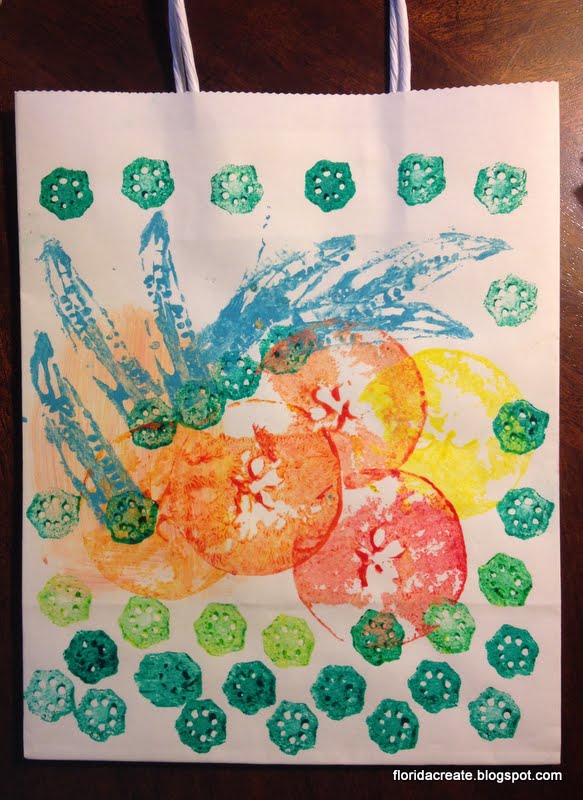
Citrus, okra and apple on white paper gift bags

okra and strawberry-top card
bok choy core and okra-bottom card
Tips for printing:
Practice first to discover how the fruits and vegetables look when printed.
Use a smooth knife for cutting the vegetables-it creates a smoother printing surface. I cut everything with a serated knife and it created a rough surface whaich then created a more textured look.
Vary the design by repeating/altering the shapes, changing colors, or overlapping.
Create a recognizeable object or figure by combining shapes.
Change the direction of the cut.
Vary the amounts of paint.
Try different fabric or paper surfaces.
Look for fruit or vegetables that have been reduced at the market but are not too mushy. Check out the garden for any that are buggy or not particularly good for a meal but could be cut to print. Save cut off ends or cores, bits and pieces from meal preparation. Keep them in water or in the fridge until ready to use. Recut edge for a fresher print.
Once when cooking up bamboo shoots, I saved the tougher outer section to make a bamboo print .
I found a beautiful lesson for kids on printing with fruits vegetables on Art for Smalll Hands. After printing the veges in a desired pattern on paper, the background areas are colored in with pastel! I love Julie's lessons-they are so organized and clearly presented!
Working with cut fruit and vegetables offers one the opportunity to really observe and appreciate the intricate designs of nature.
May you have fun exploring your world each day!
View comments